Click here for information about editing and viewing your mosaics on nthscreen.tv.
Nth Screen requires a reasonable connection to the internet. WiFi (connected to broadband) is best. Otherwise, try your mobile data connection. We recommend setting up the mobile with the best connection as a WiFi hotspot, and connecting the other mobiles to it. You can always upload your films later over a broadband connection.
You don’t need to be in the same place to film together but everyone has to be internet-connected.
To film together with Nth Screen:
- Join the same group
- Enter the recording session
- Record together
- Review your films in Sync
- Upload your films
- Make your mosaic (aka ‘groupie’)
Join the same group
To film together, you all need to enter the same group name. Click on the settings button ![]() on the clock page (the clock is the group of three coloured bars ticking round) to give your group a name (it’s bbcchangeme by default).
on the clock page (the clock is the group of three coloured bars ticking round) to give your group a name (it’s bbcchangeme by default).
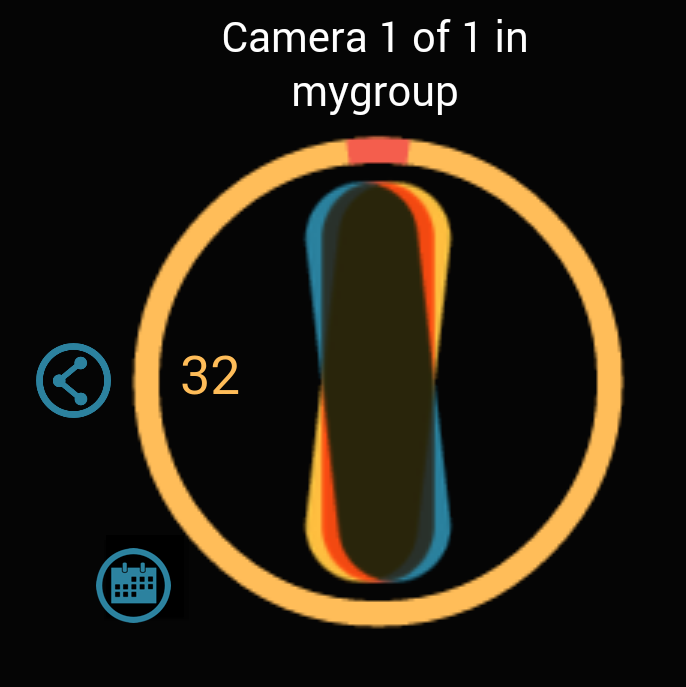
After a short while, the device will confirm it has joined the group you’ve entered, say ‘mygroup’. If your friend typed in ‘mygroup’, both would be in the group.
Someone somewhere else might have typed in the same name, which would mean they joined your group. You can create a more complicated name, consisting of lower-case letters, digits, the dash character ‘-‘ and @. Think of this as a password. Be cautious who you tell about it.
Note the share button that appears to the left of the clock after you’ve typed in a group. You can use this to send the group name to others by email or another means.
When you click on a group link you’ve received from someone, you’ll be taken to an nthscreen.tv page. Click on that link on your mobile if you want to join the group.
More about the clock
The closer the three bars of the clock, the better your device is synchronised to the Nth Screen servers. If the bars are far apart, that means the network conditions are poor. Nth Screen may struggle to synchronise your recordings with those of other devices.
If two devices are connected to the same group, the clocks should ‘tick’ at the same time. If they aren’t ticking together, check you’ve all entered exactly the same group name.
Scheduling a recording
Perhaps you don’t need to be spontaneous and are planning ahead – e.g. you would like to arrange a shoot for 12 noon tomorrow. You can schedule a recording session. Everyone who receives an invitation to your session will not only know when to be ready, but will be able to see a shared countdown leading up to the recording, and receive an alert five minutes before it begins.
Click on the schedule button next to the clock:

This enables you to review (and jump to) your scheduled recordings, and create a new scheduled recording. You will enter:
- The name of the session, e.g. Sandra and Mike’s wedding
- The day and time of the recording in your local timezone, e.g. 3:10pm 3rd March.
The session will use the group name in your settings. Once you’ve made a recording session, you can share it with your friends via email or Facebook. The scheduled recording appears as a link, which your friends will click on to receive (just as they receive shared groups). The date and time of the recording schedule will appear according to their local time zone.
Please note that the app won’t automatically start recording once the countdown has finished. That’s up to you: you might want to ensure enough people are ready.
Back to top
Enter the recording session
![]()
Click on the camera icon to join the recording session
Back to top
Record together
Anyone in the recording session can press the record button. All the devices will begin recording together a few seconds later. A progress circle appears until recording begins, then a progress bar appears at the top of the screen as recording takes place.
By default, the devices will record for the time specified in the settings of the device that initiated the recording. However, it is possible to stop filming early, or record in several shoots. The person who started recording will have a pause button (no one else will). Pressing this will halt the recording. Once recording is halted, you can press the stop button that appears below the record button to terminate the recording session. Alternatively, anyone in the group can press the record button to continue.
Back to top
Review your films in sync
At the end of a recording session the device will present the film recorded on your phone. If anyone presses the play button, the devices will all play the films in sync — as long as they remain in the same group.
If instead you prefer for your device to go back to recording mode automatically instead of review mode after a recording, you can select that option in the settings. This is useful if you have placed a device to record repeatedly, i.e. it is not in anybody’s hands.
Back to top
Upload
Films are uploaded to the Nth Screen servers only if you press the upload button that appears in the bottom-right of the review screen. You can press the upload button at any time and it will still appear with the other films recorded in the same session. You might want to wait until you have better bandwidth, for example.
After successful upload, the upload button is replaced by a share button (disabled for this pilot). To the left of the share button, the mosaic button enables you to view the mosaic on your mobile dev
Back to top
Make and view your mosaic (aka ‘groupie’)
By default, all the videos recorded in a session will appear in a shared mosaic aka groupie (a web page on nthscreen.tv). Anyone who filmed in the session can edit this mosaic; no one else can. You can edit the collection of videos much as you would be able to manipulate rectangles in a drawing program. You’ll need to coordinate if more than one person wants to edit the mosaic: if two people edit it and save it at the same time, one person’s changes will be lost.
Please note that mobile browsers may struggle to show a mosaic. Also, editing functionality on a mobile (by touch) is very limited. We recommend using a browser on a machine with a mouse or pen.
To begin editing, click on the tools icon to set Edit mode to On:
![]()
In edit mode, you can:
- Change the mosaic’s title
- Add and remove tags
- Alter the arrangement of videos. You can drag, resize, rotate, flip, raise and lower, clone (copy),and delete (remove from the mosaic) each video.
- Click on a video to drag it and change its position
- Right-click (control-click) on a video for a menu of other options
A known quirk is that resizing a rotated video may work unintuitively: try dragging the handle in different directions.
Once you’re happy with the results, go back to the tools menu to save it.
Alternative ways to view: 360 and series
When you edit a mosaic, you can set it to be viewed in one of two alternative forms, a ‘360’ or a ‘series’, by clicking on the ‘multi’ button:
![]()
360
In this form, you view the videos one at a time and can click or swipe to view the next. They are always synchronised. The physical arrangement of the videos in the mosaic is disregarded.
Series
In this form, the platform collects all the mosaics filmed by the same group, and shows them one at a time in chronological order.
If you want to film a series of mosaics, you might want to choose a special group name just for those filming sessions.